A friend from Central Iowa Anglers fishing club asked about why my fish pictures look so good (usually). I thought I would repost my response here in case others might find the information useful.
It helps if you can start off with a good picture, and that usually means HOLD THE CAMERA STILL WHEN YOU SNAP THE PHOTO. This will at least give you a good image to start with. Snapping several pics of the same fish improves your odds of getting one that is sharp. Remember, it really costs NOTHING to take more digital photos! Also...if you old digital camera doesn't take good photos to start with...GET A NEW ONE. Do your research...if the camera will be used primarily for fishing, I recommend a waterproof camera, of which there are several good brands that are affordable.
So...starting with a good photo...Here's what I do. I used a program called PhotoScape (v3.6.2). Its a GREAT program for pictures. You can view, edit, create GIFs....do all sorts of things. Its free, you can download it here:
http://www.photoscape.org/ps/main/download.php
After you've downloaded the pictures from you camera to your computer, I start up the PhotoScape program and click the "Editor" option. I navigate to the folder containing my fishing pictures. I open a new picture.
Step 1. I click the "Crop" tab and crop the photo to show just the desired area.
Step 2. Click the "Home" tab. I click the "Resize" down arrow and reduce the size of the photo so the long edge is 1280 pixels. If its an excellent photo that I might want to use as my computer desktop, I might go with 1600 pixels on the long side. I do this mainly to reduce the size of the file. Since most of these photos are posted on the computer, they just don't need to be huge in size, like they would be if you kept the original 8 or 10 MP photo from your camera.
Step 3. I hit the "Auto Level" button. If the photo looks better, I continue to the next step. If it looks worse, I click the "Undo" button, then continue to the next step.
Step 4. I click the "Backlight" down arrow and try a few variations (usually 50% or 75%....just hit the "Undo" button to revert back one step) to see what looks best. This step reduces shadows and brightens the background a bit. Going too far can give a weird "halo" effect around the fish, so watch out. This is step can especially improve photos taken in low light conditions, even if you used a flash.
Step 5. I click the "Sharpen" down arrow, and select a choice. Usually a "2" is all I need. If the original started blurry, nothing is going to make it look sharp, but bumping up to a "5" can sometimes help enough.
There's a lot of other things you can do with this software. You can make classic Ansel Adams-style B&W images from your landscape photos, for example. On rare occasions if I have a really dark photo, you can "brighten" the picture. It generally washes out the colors a bit, so its usually a last resort in trying to salvage an otherwise useless picture.
Have fun!
-----------
Addendum. Its only fair to show an example of what I mean...
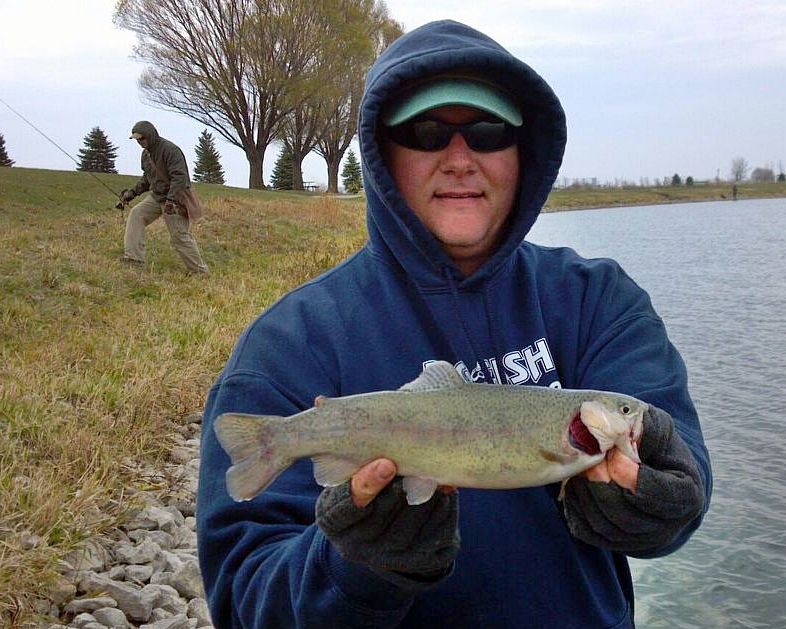
The picture below was taken of me by my friend Dale G. while we were fishing. He downloaded it from his camera and sent it to me electronically.

No comments:
Post a Comment